
Here's how to setup Okta as your identity provider.
- In the Okta Admin panel, go to Applications and click Create App Integration.
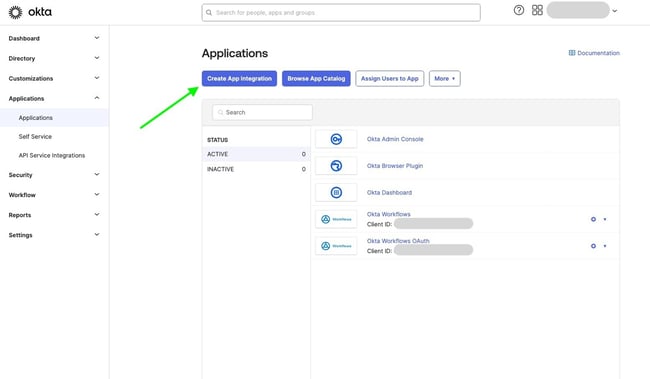
- Choose SAML 2.0 and click Next.
- Name the app and add a logo. Tick Do not display application to users if you'd rather enable it for people later.
-2.png?width=650&height=370&name=image+(31)-2.png)
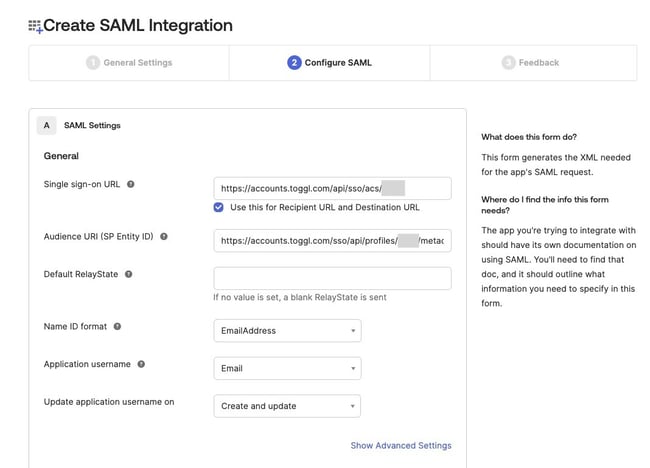
- You'll see a set of fields to fill in — these come from Toggl, so open a second browser tab for the next step.
-1.png?width=650&height=622&name=image+(32)-1.png)
- In that second tab, go to Toggl 2.0's Admin Console > Single Sign On and click Create SSO Profile.
- Set the profile name and company domain, then note the ACS URL and Entity ID shown — you'll need them in a moment.
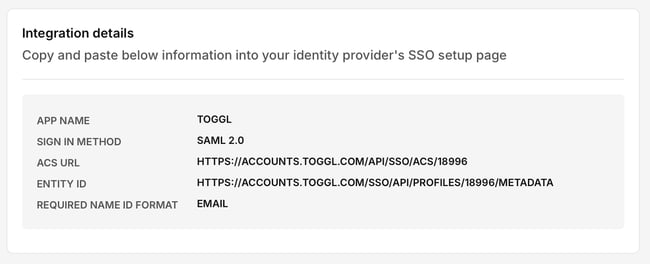
- Back in Okta: paste the ACS URL into Single sign-on URL, and the Entity ID into Audience URI. Also set Name ID format to EmailAddress and Application username to Email. Note: For Identity Provider–initiated login (starting the flow from Okta rather than from
accounts.toggl.com), append?toggl_product=focusto the Single sign-on URL field.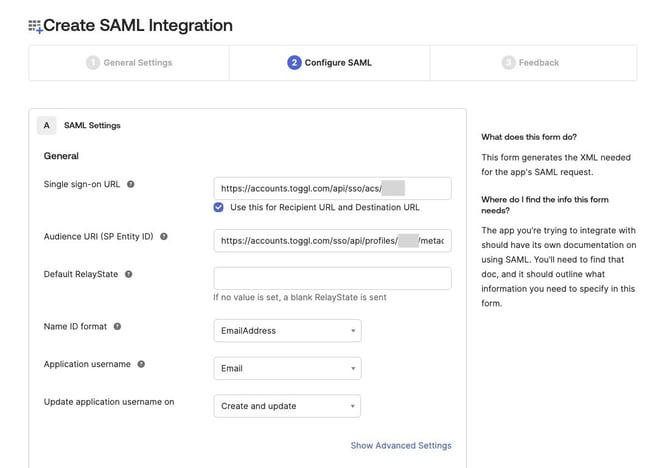
- In Advanced Settings, set Response to Signed. Leave everything else at its default and click Next.
- Fill in the feedback section if you want, or skip it, then click Finish.
- Okta will show you a Metadata URL.
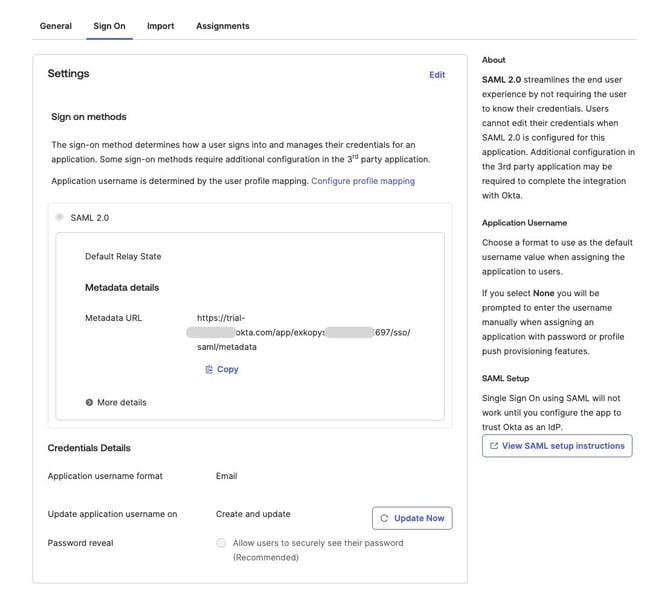
- Copy that URL, go back to the Toggl SSO profile, tick I have access to an IdP metadata URL, and paste it in.
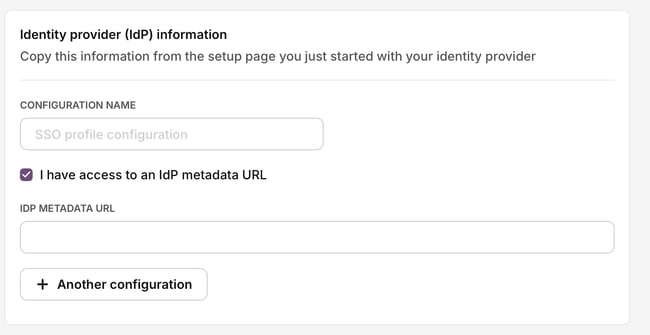
- Click Submit for review.
- That's the configuration done — Toggl's team will verify the domain and notify you by email once complete.